
Buy Guide
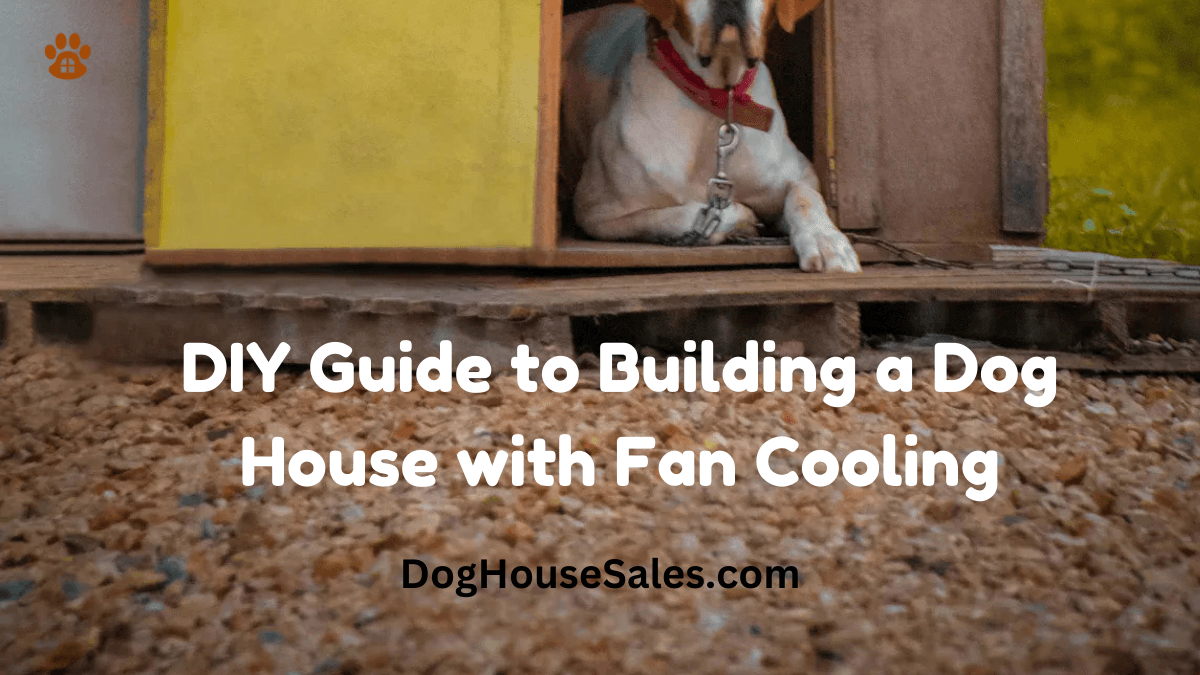
DIY Guide to Building a Dog House with Fan Cooling
May
Keeping your dog cool during hot days is super important. I’ve seen how the heat can make pets uncomfortable, and it’s not just about comfort—it’s about their health too. That’s why I decided to build a dog house with fan cooling. It’s a simple, practical way to give your furry friend a cozy space, no matter the weather.
Planning to Build a Dog House
Planning is the most important step when you want to build a dog house. It ensures the final product is safe, comfortable, and durable for your furry friend. Let me walk you through the key aspects of planning.
Selecting Materials for a Dog House
Choosing the right materials can make or break your project. I recommend using weather-resistant wood like cedar or fir. These woods are durable and safe for pets when treated with non-toxic products. If you’re looking for something long-lasting and low-maintenance, PVC panels are a great option. They can last up to 100 years and prevent moisture buildup, which keeps the doghouse clean and healthy. For the roof, go with materials that reflect heat, like metal or asphalt shingles. This helps keep the interior cool during summer.
Tools Needed to Build a Dog House
You don’t need fancy tools to get started. A basic toolkit with a hammer, saw, measuring tape, and drill will do the job. If you’re installing a fan, you’ll also need a screwdriver and possibly a wire cutter. Having sandpaper on hand is helpful for smoothing out rough edges, ensuring your dog’s safety.
Budgeting for a Dog House with Fan
Budgeting is easier when you break it down. Materials like wood or PVC, roofing, and insulation will be your main expenses. A small, pet-safe fan is affordable and worth the investment for your dog’s comfort. Plan for around $100-$200, depending on the size and materials you choose. Remember, a well-planned budget saves time and avoids surprises later.
Tip: Always measure your dog before starting. The house should be big enough for them to stand, turn, and lie down comfortably.
Step-by-Step Guide to Build a Dog House
Constructing the Foundation
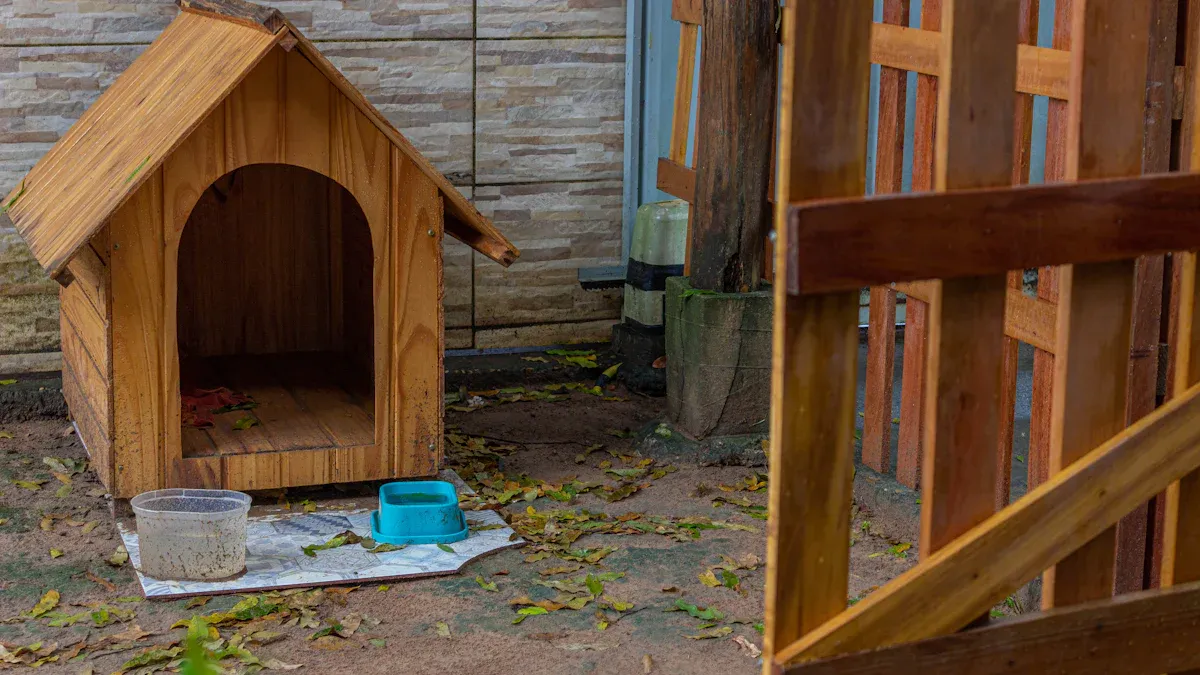
The foundation is the backbone of any dog house. I started by choosing a flat, dry area in my yard to keep the doghouse stable and away from moisture. For the base, I used treated plywood because it’s durable and resists rot. I cut the plywood to the size I wanted for the doghouse, ensuring it was big enough for my dog to move around comfortably.
To elevate the structure and improve ventilation, I added four wooden blocks as legs under the corners of the base. This simple step helps air circulate underneath, keeping the floor dry and cool. I secured the blocks with screws and double-checked that everything was level. A stable foundation makes the rest of the construction much easier.
Tip: If you live in a rainy area, consider adding a waterproof layer, like a tarp or plastic sheet, between the ground and the base.
Building Walls and Roof
Once the foundation was ready, I moved on to the walls. I used cedar planks because they’re lightweight, weather-resistant, and safe for pets. I measured and cut the planks to fit the base, then attached them using screws. For added stability, I reinforced the corners with wooden brackets.
When building the roof, I opted for a slanted design to allow rainwater to run off easily. I used metal roofing sheets because they reflect heat, keeping the doghouse cooler in the summer. After attaching the roof, I sealed any gaps with silicone to prevent leaks. A well-sealed roof is essential for keeping your dog dry and comfortable.
Note: Don’t forget to cut out a door opening in one of the walls. Make sure it’s large enough for your dog to enter and exit easily but not so big that it lets in too much heat or cold.
Installing a Fan in the Dog House
Adding a fan was the final step, and it made a huge difference in keeping the dog house with fan cooling effective. I chose a small, energy-efficient fan with a maximum airflow of 155 CFM (cubic feet per minute). This ensures proper ventilation without being too noisy. Here’s a quick breakdown of the fan’s specifications:
| Specification | Value |
|---|---|
| Cooling Capacity | 5,200 BTU |
| Power | 115volt Power |
| Unit Weight | 43 pounds |
| Dimensions | 12.5″ x 18.5″ x 14.5″ |
| Maximum Airflow | 155 CFM |
| Noise Level | 38 db |
| EER | 10.7 (Energy Star Rated) |
| Fan/Cool Speeds | 3 |
I installed the fan on the back wall, near the top, to maximize airflow. This position helps pull hot air out while circulating cool air inside. I used a screwdriver to secure the fan and ran the wiring through a small hole I drilled in the wall. To keep the wiring safe, I covered it with a plastic conduit.
For extra cooling, I added insulation to the walls and roof. This step helps maintain a consistent temperature inside the doghouse, even on hot days. If you’re looking for a more advanced setup, you can follow these steps:
- Design the doghouse with a dedicated space for the fan or cooling unit.
- Use heavy-duty clear plastic strips to create a dog door that keeps the cool air inside.
- Run electrical conduit and wiring for the fan or cooling system.
- Seal the exterior with silicone and paint it for a polished look.
Pro Tip: Always choose a fan with a low noise level (below 40 db) to avoid stressing your dog. A quiet fan ensures your pet feels relaxed and comfortable.
How to Keep a Doghouse Cool
Keeping your dog cool in summer is simple. Using the right fan, good placement, and insulation helps a lot. Let me explain how I kept my doghouse cool and comfy.
Choosing the Right Fan for Cooling
The first step is picking a good fan. I chose a small, energy-saving fan made for tight spaces. It’s important to pick one that’s quiet and safe for pets. A fan with adjustable speeds is useful for changing airflow based on the weather.
When buying a fan, check its noise level. A quiet fan (under 40 decibels) keeps your dog calm. Also, look at the airflow capacity, measured in cubic feet per minute (CFM). A fan with 150-200 CFM works well for most doghouses.
Tip: Choose a fan with a cover to protect your pet from the blades.
Positioning the Fan for Airflow
Where you put the fan is very important. I placed mine high on the back wall. This spot helps remove hot air and spread cool air inside. It’s a simple but effective trick.
Here’s a guide I used for placing the fan:
| Guideline | Description |
|---|---|
| Fan Placement | Place the fan outside the doghouse to save space. |
| Air Filter Housing | Add it near the fan to keep air clean. |
| Ducting | Use a short duct (0.5m to 2m) for better airflow. |
| Airflow Distribution | Make sure air reaches all parts of the doghouse. |
| Airflow Balance | Adjust speed for even cooling everywhere. |
I also made sure the fan didn’t blow directly on my dog. Instead, it spreads air evenly, making the space comfortable.
Pro Tip: Test the airflow by placing your hand inside. You should feel a soft breeze, not a strong wind.
Enhancing Cooling with Insulation
Insulation makes a big difference in keeping the doghouse cool. I used foam boards for the walls and roof. They are light, easy to install, and work well. Insulation keeps the doghouse cooler in summer and warmer in winter.
Other good options are aluminum foil bubble insulation or fiberglass. These materials reflect heat away, stopping the doghouse from overheating. After adding insulation, the doghouse felt much cooler, like standing in the shade.
Note: Seal any cracks or gaps to make insulation work better. Even small holes can let in heat and reduce cooling.
By using these tips, I kept my doghouse cool. Now, my dog has a cozy spot to relax, even on hot days. If you want easy cooling ideas, these are a great start.
Building a dog house with fan cooling is one of the most rewarding projects I’ve ever done. It keeps dogs comfortable and healthy, even on the hottest days. Plus, it’s a fun way to customize something special for your dog. Trust me, this project is easier than it sounds. Give it a try!
FAQ
How do I clean the doghouse?
I use a mild pet-safe cleaner and a damp cloth. Wipe down the walls, floor, and fan. Regular cleaning keeps the doghouse fresh and hygienic.
Can I use a solar-powered fan for the doghouse?
Yes! Solar-powered fans are eco-friendly and cost-effective. They work great for keeping the doghouse cool, especially in sunny areas.
What size should the doghouse be?
Measure your dog. The doghouse should be big enough for them to stand, turn, and lie down comfortably. A snug fit helps retain cooling.